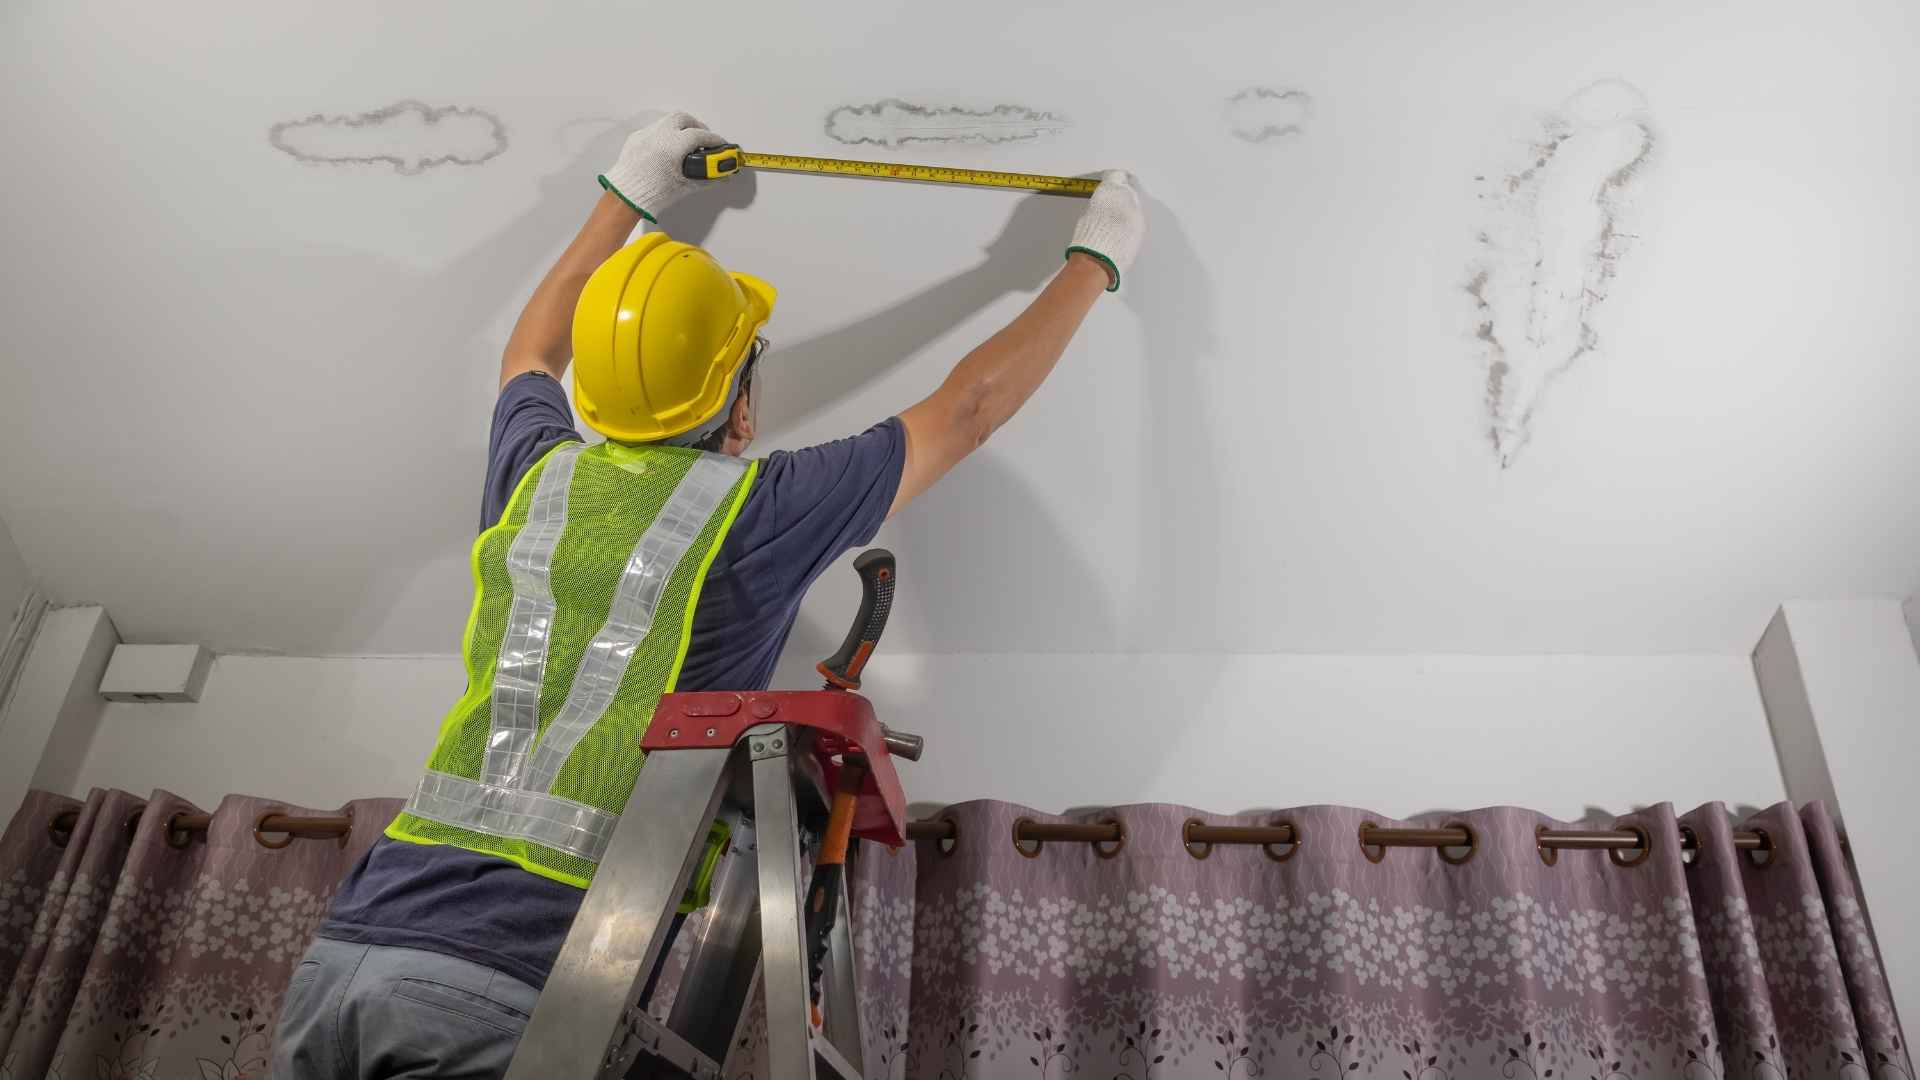
Most homeowners find their roof leak from the wrong end. They spot the brown ring on the ceiling, assume the water is falling straight down from directly above it, and start poking at shingles three feet away from the real breach. Water almost never travels in a straight line through a roof.
It runs down the underside of sheathing, follows rafters, pools against a ridge board, and only announces itself when it finally soaks through drywall. That gap between where the water enters and where it shows up is the whole reason leak hunting feels like a magic trick. You’re not looking for a hole above the stain. You’re looking for the highest point on the roof that could plausibly feed it.
The good news is that this is a solvable puzzle most afternoons. If you’d rather hand the puzzle off, you can always call a pro to patch a leaking roof, but if you want to understand what’s happening up there before anyone climbs a ladder, keep reading.
Why your ceiling lies to you
Think about how water behaves on a slope. It hits the roof surface, and if the shingles are intact, it sheds into the gutter and disappears. When shingles fail, water slips underneath them and lands on the underlayment. From there, gravity takes over.
The path of least resistance is usually down a rafter or along the seam where two roof planes meet. It’ll run sideways a surprising distance before it finds a gap in the decking or a nail hole. By the time it drips onto your insulation and stains the ceiling, it might have traveled ten or fifteen feet horizontally from the actual entry point.
So the stain isn’t a location. It’s a symptom with a long commute. I’ve watched homeowners dig into the wrong part of a roof for an entire weekend because they trusted the stain instead of the structure. Don’t be that person.
Start in the attic, not on the roof
This is the part most guides get wrong. Everyone wants to grab a ladder first. Resist that. The attic is where the evidence lives, and it’s a lot safer to read.
Go up during or right after rain, or better yet, have someone spray a hose on the roof while you’re inside. Bring a bright flashlight and look for:
- Dark streaks or water stains on the underside of the roof deck
- Discolored or compressed insulation, which is often the first visible clue
- White chalky lines or crusty residue on rafters, which is mineral staining left behind as water evaporates
- Rusty nail tips poking through the decking, a sign that moisture has been sitting there a while
Trace the streak upward. Follow the rafter. The stain on the deck will usually point you toward the general zone, even if the exact nail hole stays hidden. Mark the spot with a piece of tape or a chalk line so you know where to look when you get outside.
What’s actually causing it (a short list, ranked)
Once you’re on the roof, you’re narrowing down causes rather than hunting blind. In my experience these show up in roughly this order:
- Failed flashing. Chimneys, vent pipes, skylights, and where two roof planes meet. Flashing fails faster than shingles because it flexes and gets sealed with materials that dry out.
- Cracked or missing shingles. Wind lifts them, hail bruises them, and age makes them brittle. Look for shingles that are curled, cracked, or sitting slightly proud of their neighbors.
- Open nail heads. A nail that backed out or was never sealed properly is a tiny funnel. It’s the least dramatic cause and the easiest to fix.
- Damaged or clogged flashing at the valleys. If water can’t drain, it backs up under the shingles and finds a way in.
- Failing underlayment. Usually a sign the roof is near the end of its service life rather than a one-off problem.
That last one matters more than people want to admit. If your underlayment is shot, you’re not patching a leak, you’re delaying a replacement. According to the U.S. Department of Energy, a roof’s performance is tied directly to how well its layers work together, and once the water-shedding layer beneath the shingles degrades, patching becomes a recurring hobby.
How to actually patch it
If you’ve found a clear, isolated breach and your roof isn’t near the end of its life, a repair is a reasonable DIY job. Here’s the sequence I’d follow.
Dry the area completely. Water and sealant don’t mix, and most failed DIY patches fail because someone applied goop to a wet surface. Scrape away old caulk or failing sealant with a putty knife. If a shingle is cracked, lift it gently, apply roofing cement underneath, press it flat, and secure it with a couple of roofing nails driven above the exposure line. Cover the nail heads with cement. For flashing, clean the metal, reseal the joint, and give it time to cure before the next rain.
The single biggest mistake I see is over-application. A thick mound of cement cracks as it cures. Two thin, tidy layers beat one giant blob every time. And if you can’t identify the source with confidence, don’t cover it up. You’ll just be hiding the evidence the next person needs.
When patching is the wrong answer
There’s a real difference between a leak and a dying roof, and confusing the two costs people a lot of money. Patch when you find a single identifiable failure on an otherwise sound roof. Call a professional when any of the following is true:
- You’ve patched the same general area twice and it’s still leaking
- The roof is past the midpoint of its expected lifespan
- Shingles are cracking across multiple sections, not just one spot
- Water is showing up in more than one room
- You can’t get on the roof safely, which is most people, and that’s fine
Also worth respecting: wind. According to the National Weather Service, high winds are a routine driver of roof damage in storm-prone regions, and the shingles they lift often look fine from the ground. Standing on a roof after a windstorm is a job for someone with the right gear and a healthy respect for fall risk.
Stopping the next one
Leaks rarely appear out of nowhere. They develop quietly over months, and the homeowners who avoid the big ceiling repair are usually the ones who look twice a year.
Walk your attic in spring and fall. Check the flashing around anything that penetrates the roof. Clear debris from valleys and gutters so water drains instead of sitting. And after any significant hail or wind event, take a slow lap around the exterior looking for lifted shingles, granule buildup in the gutters, or dents in soft metal like vents and gutters. Those dents tell you what the roof absorbed even if it looks untouched.
One more thing: don’t ignore the small stuff. A pinhole leak that drips once a week is still saturating your decking, and rot doesn’t announce itself. By the time it’s visible, you’re looking at structural repair instead of a patch.
The bottom line
Finding a roof leak is mostly about resisting your instincts. The ceiling stain isn’t the location, the attic is where the story starts, and the fix is only as good as how dry and tidy you kept the surface underneath it. If you’ve traced it, dried it, patched it, and it still comes back, you weren’t wrong to try. You just found the edge of what a patch can do.
So here’s the question worth sitting with: when was the last time you actually climbed into your attic and looked up?