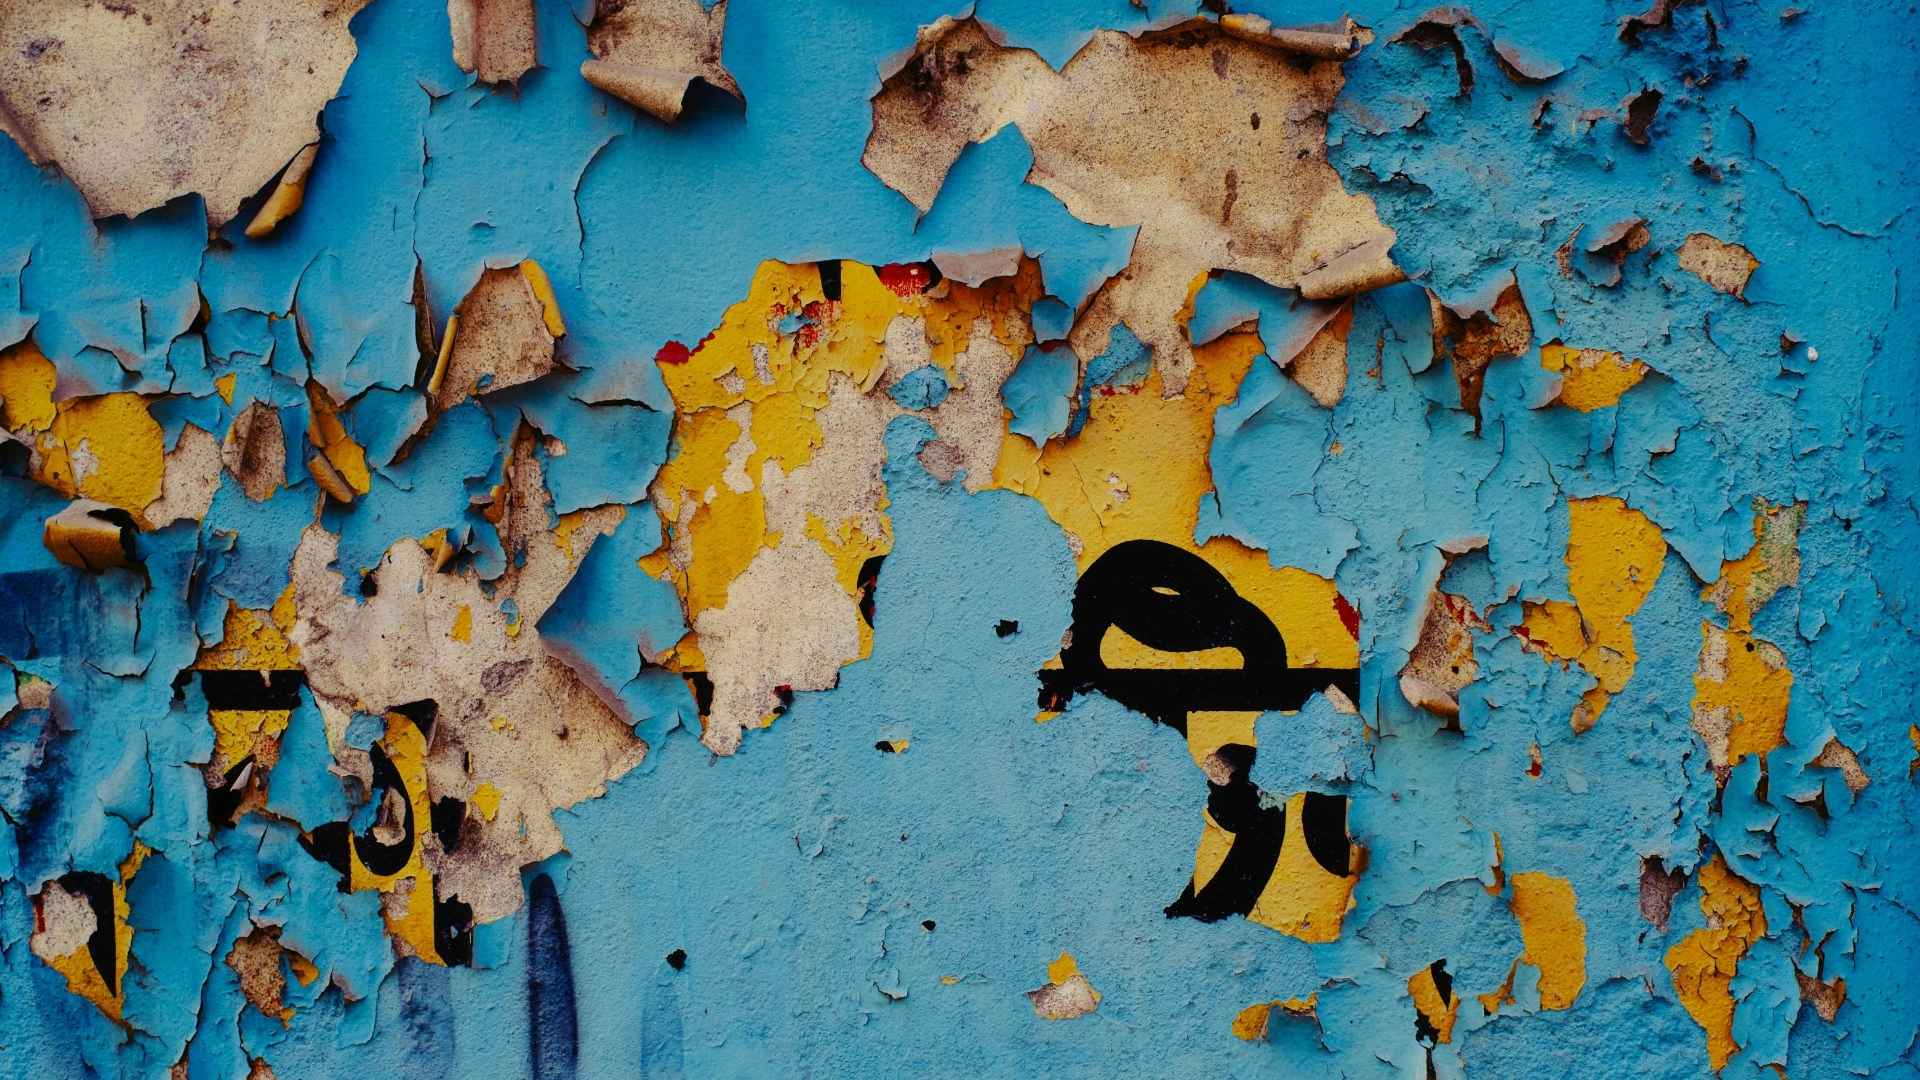
If you’ve repainted a porch floor and watched it peel the next spring, you’re in good company, and it probably wasn’t the paint’s fault. Most failures come down to three things: moisture, prep, and timing. The brand on the can matters a lot less than people think.
I’ve painted two porch floors badly and one well. Here’s what changed between them.
Mistake #1: Painting Wood That’s Still Wet
Wood soaks up water from rain, morning dew, and the hose you just used to clean it. Paint over damp boards and the moisture tries to escape, pushing the paint up into blisters. The first time I did this, I washed the floor on Saturday and painted Sunday morning. By July it looked like a bad sunburn.
Give washed wood at least two or three dry days. A quick check: sprinkle a few drops of water on the boards. If the drops soak in within a minute or so, the wood is dry and open enough to take paint. If they bead up and sit there, wait longer or sand off whatever coating is still sealing the surface.
Mistake #2: Painting Over a Bad Surface
Paint only sticks as well as the layer under it. If the old coat is flaking, the new one goes with it. Scrape off everything loose, sand glossy spots dull, and wash with a cleaner that kills mildew. Rinse well. Every major paint brand says some version of the same thing in its instructions: the surface has to be clean, dry, and sound.
Check the boards themselves too. Push a screwdriver into a few spots near the steps, the posts, and anywhere water sits. If it sinks in easily, that board is rotten, and no paint on earth will save it. Swap it out first.
Mistake #3: Using the Wrong Paint
Deck stain, house paint, and porch floor paint aren’t interchangeable. Porch and floor enamel is made to handle shoes, chair legs, and dog claws. Wall paint isn’t. Some porch paints even say right on the label that they aren’t meant for open decks, since a fully exposed deck takes much more sun and water than a covered porch.
For most covered porches, a 100% acrylic porch and floor paint is a safe choice. It flexes a little as the wood moves through the seasons. Oil-based floor enamel dries harder, but it can get brittle and it’s a pain to clean up.
Solid stain is the other option worth knowing about. It soaks in deeper and tends to wear away slowly instead of peeling in sheets, so touch-ups are easier. It looks a bit flatter than paint, which some people actually prefer.
Mistake #4: Bad Weather and No Patience
Most exterior paints want temperatures above 50°F, no rain in the forecast, and no fog or heavy dew. Direct midday sun on dark boards can make paint dry too fast and bubble. Late morning on a mild, dry day is the sweet spot.
Then comes the hard part, which is waiting. Paint can feel dry in an hour and still take days to cure. Behr, for example, tells people to wait 72 hours before normal use on its porch and patio paint. Put the furniture back too early and the rubber feet stick, then tear the paint when you move a chair.
A Prep Routine That Actually Works
This is the order I follow now, and it’s the reason my third porch floor still looks good:
- Clear the porch and sweep well, including the gaps between boards.
- Scrape and sand any loose or glossy paint.
- Replace soft or badly cracked boards.
- Wash with a mildew-killing cleaner and rinse thoroughly.
- Let it dry for two to three days.
- Spot-prime bare wood with an exterior primer.
- Roll on two thin coats, with full drying time between them.
- Keep heavy traffic and furniture off for at least three days.
Thin coats beat thick ones. A heavy coat skins over on top and stays soft underneath, which is how you get those sticky, wrinkled patches.
When Painting Stops Making Sense
Here’s the honest part. If you’re scraping and repainting every other spring, the problem may not be your technique at all. Old boards with deep checks, cupping, and soft spots just don’t hold a coating well, no matter how careful you are.
At that point, it’s worth getting a deck resurface quote. Resurfacing replaces the worn top layer with new boards, often composite, while keeping the framing underneath if it’s still solid. You give up the painted look, but you also give up the yearly scraping. An open porch builder can usually tell you in one visit whether your framing is good enough to keep.
Quick Answers to Common Questions
Can I paint a porch floor in the fall?
Yes, as long as daytime temperatures stay above 50°F and nights don’t get so cold that dew sits on the boards until noon.
Does anti-slip additive work?
It does. Fine grit mixed into the last coat makes a real difference on steps and wet mornings.
Gloss or satin?
Satin. Gloss shows every scuff and gets slick when wet.
Should I paint the board ends?
If you can reach them, yes. End grain soaks up water faster than any other part of the board.
How long should a good paint job last?
On a covered porch with decent prep, two to four years before it needs a refresh in high-traffic spots. Steps and the area in front of the door always go first.
Good prep is boring, and it’s basically the whole job. Do it right once and the paint will hold up. Skip it, and you’ll be back out there with a scraper next May.