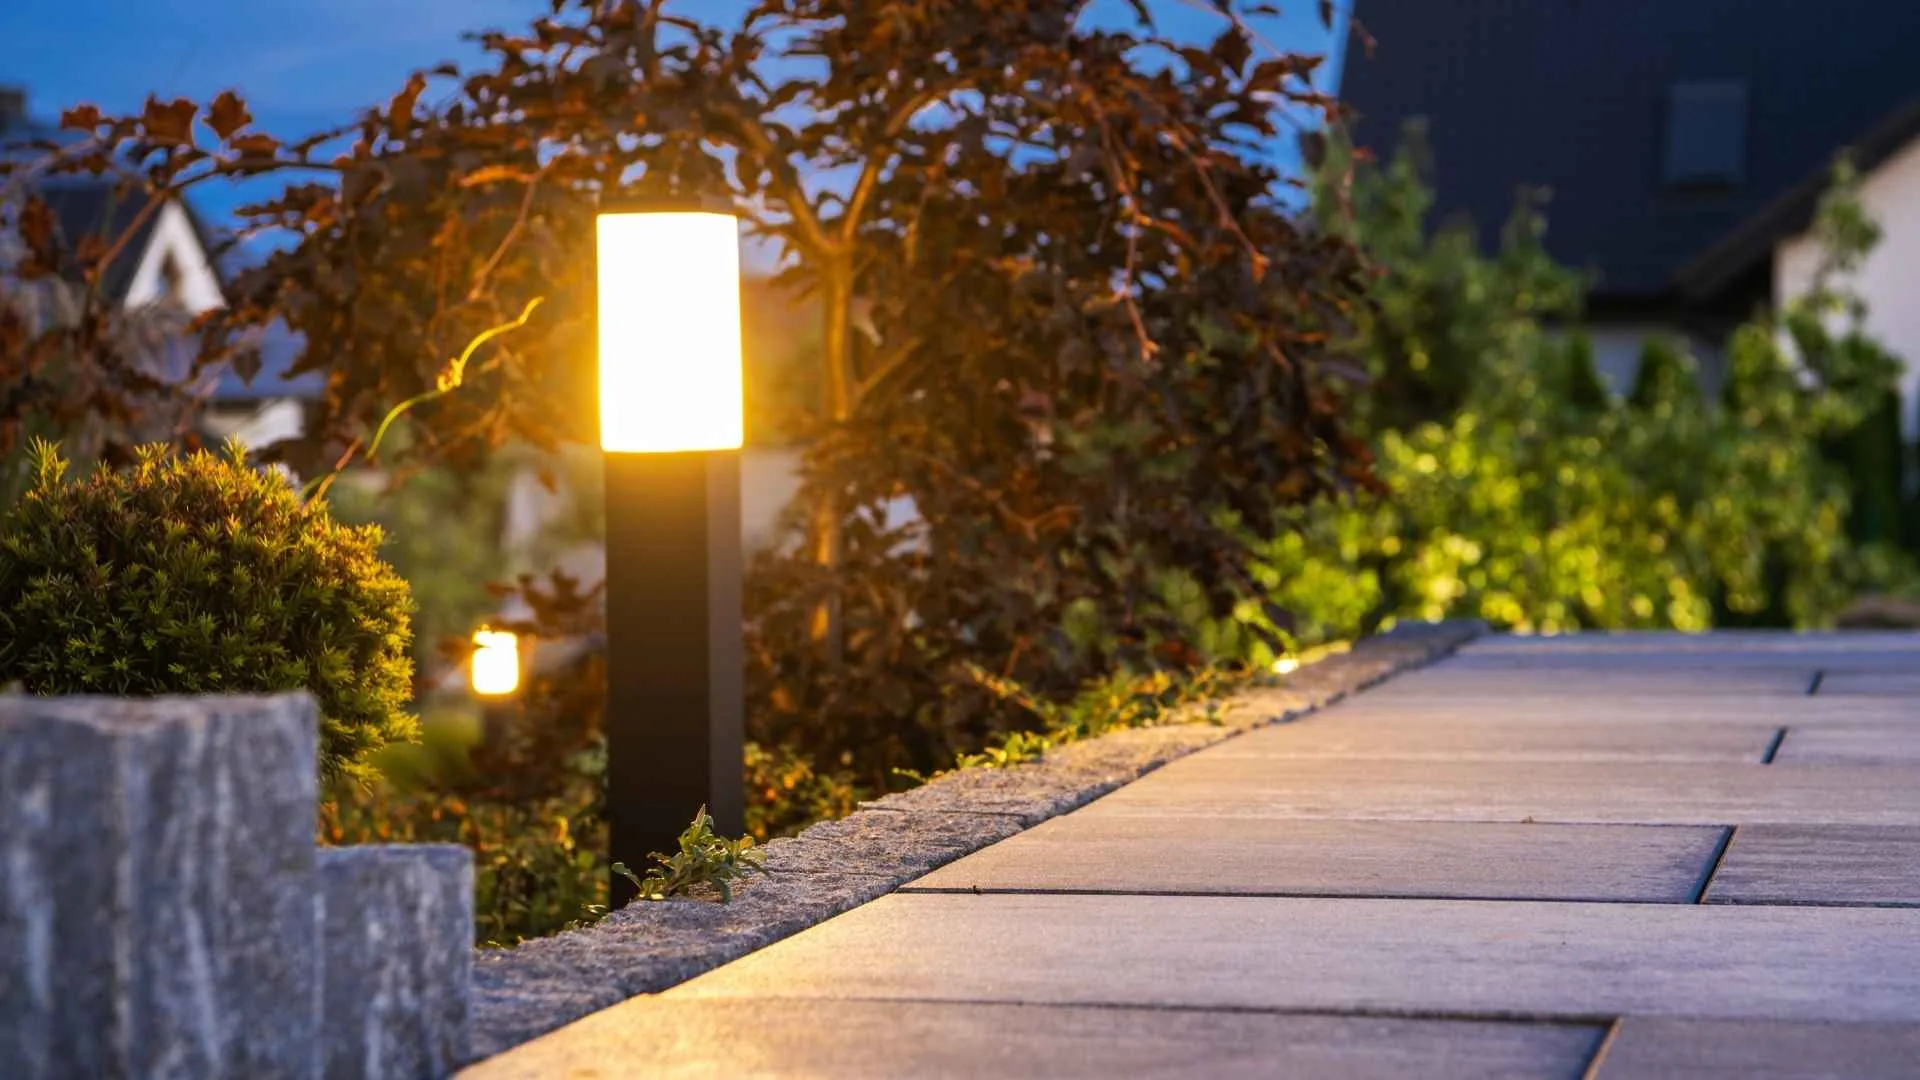
Most path lights should be spaced 8 to 10 feet apart, staggered on alternating sides of the walkway rather than lined up in matching pairs. That range works because a typical path light standing 18 to 24 inches tall casts a pool of usable light roughly 5 to 6 feet across, and spacing at about twice the diameter of that pool gives you continuous guidance without the runway effect.
The number itself is less important than what your specific fixture actually does on the ground. A low, heavily shrouded fixture with a 40 lumen output might need 6 feet between units to avoid dark gaps, while a 24 to 30 inch fixture pushing 100 to 120 lumens can comfortably stretch to 12 or 14 feet if you only want intermittent wayfinding rather than an evenly lit surface. Fixture height, beam spread, lumen output, and the reflectivity of the paving all shift the answer, which is why two identical walkways can need different layouts.
How to Calculate Spacing From Your Fixture’s Light Pool
Take one fixture, set it up at night, and measure the circle it makes on the surface you are actually lighting. Dark bluestone and charcoal pavers absorb a lot of light, so a pool that reads as 6 feet on concrete might read as 4 feet on stone. That measurement is your working number.
For continuous, overlapping light where the eye reads the whole path as illuminated, space at roughly 1.5 to 2 times the pool diameter. For the more common look, where you get bright zones with softer transitions between them, go 2 to 2.5 times. Anything past 3 times the diameter starts reading as isolated dots of light with darkness between them, which looks decorative but stops functioning as guidance.
Offset each fixture 10 to 14 inches back from the path edge rather than planting it right against the paving. This keeps the shroud out of the way of shoes, snow shovels, and mower decks, and it lets the light spill across the walking surface at a shallower angle, which reveals surface texture and small elevation changes better than lighting straight down.
Where the Spacing Formula Stops Applying
Steps, grade changes, and direction changes get a fixture regardless of where the math lands. If your calculated layout puts a light 7 feet before a set of stairs, move it to the stairs. The purpose of a path light on a walkway is aesthetic and functional at the same time, but at a step it is purely functional, and a missed riser in the dark is the failure mode that matters.
Curves need tighter spacing on the outside of the arc, because the light pools on the inside of a curve overlap more than the ones on the outside. A layout that looks even on a straight run will show gaps once the path bends, and the fix is usually one extra fixture rather than a wholesale respacing.
Intersections and forks deserve their own treatment. Where two paths meet, a walker needs to see both options at once, so a single fixture at the junction usually underserves it. Two fixtures placed to define the split read much more clearly than one bright one in the middle.
Why Commercial Walkways Need Different Spacing Than Residential Ones
On a private front walk you are lighting for people who already know the path. On a hotel entry, a restaurant patio, a senior living campus, or an HOA common walkway, you are lighting for people who have never walked it before, sometimes carrying things, sometimes in heels, often in poor weather. That changes the target from atmosphere to uniformity.
Lighting design guidance for pedestrian walkways generally puts recommended average illuminance somewhere between roughly half a footcandle and two footcandles depending on how the space is used, with the ratio between average and minimum light levels mattering more than the average itself. A path with bright spots and dark gaps can hit a perfectly acceptable average while still creating the exact conditions where someone misjudges a curb. Practically, that means commercial layouts tend to run tighter, often 6 to 8 feet, and use fixtures with wider, more even distributions rather than tight decorative beams.
Fixture durability shifts too, which is why professional commercial garden lighting specifications lean toward solid brass or copper housings with sealed LED assemblies rather than the thin aluminum and plastic units sold for weekend residential projects. A property with landscape crews, snow removal equipment, and constant foot traffic will destroy consumer fixtures within a couple of seasons, and replacing them repeatedly costs far more than specifying properly the first time.
Senior living and healthcare properties are their own category. Older eyes need substantially more light to achieve the same visual clarity, and they recover from glare much more slowly, so spacing tightens further and shielding becomes non-negotiable. A fixture that is merely a bit bright to a 30 year old can be genuinely blinding to an 80 year old.
What Voltage Drop Does to Your Spacing Plan
Low-voltage systems run at 12 volts, and voltage falls off along the wire run. LED path lights draw very little, usually 2 to 5 watts each, so transformer capacity is rarely the constraint. Distance is. Push a long daisy chain of fixtures out 150 feet on 14 gauge wire and the fixtures at the end will read dimmer and slightly warmer in color than the ones near the transformer.
The practical fix is heavier wire (12 gauge for most runs, 10 gauge for long ones) and a hub or T method layout instead of a single chain, which keeps each fixture roughly the same electrical distance from the source. Aim to land every fixture between about 10.5 and 12 volts. Size the transformer to around 80 percent of its rated capacity so you have headroom to add fixtures later, which you almost certainly will once you see the finished result.
Testing the Layout Before Anything Gets Buried
Lay the fixtures on the ground at your planned spacing, connect them temporarily, and walk the path at night. Then walk it again from the opposite direction, because glare that is invisible walking out can be obvious walking back. Do this before trenching, before you cut wire to length, and ideally on two separate evenings.
Budget-wise, this is the step that saves money. Commercial-grade brass path lights typically run $60 to $180 per fixture before labor, so the difference between a 6 foot and a 10 foot spacing on a 100 foot walkway is roughly seven extra fixtures, which is a meaningful number. Deciding that from a mockup beats discovering it after the trenches are backfilled and the sod is down.
The layout you settle on should also account for how the planting around it will look in three years, since shrubs that are 18 inches tall at install will happily swallow a path light by their second or third season. Leaving a little more clearance than looks necessary now, and choosing fixture heights with mature plant size in mind, is the difference between a lighting plan that still works in five years and one that quietly disappears into the landscape.