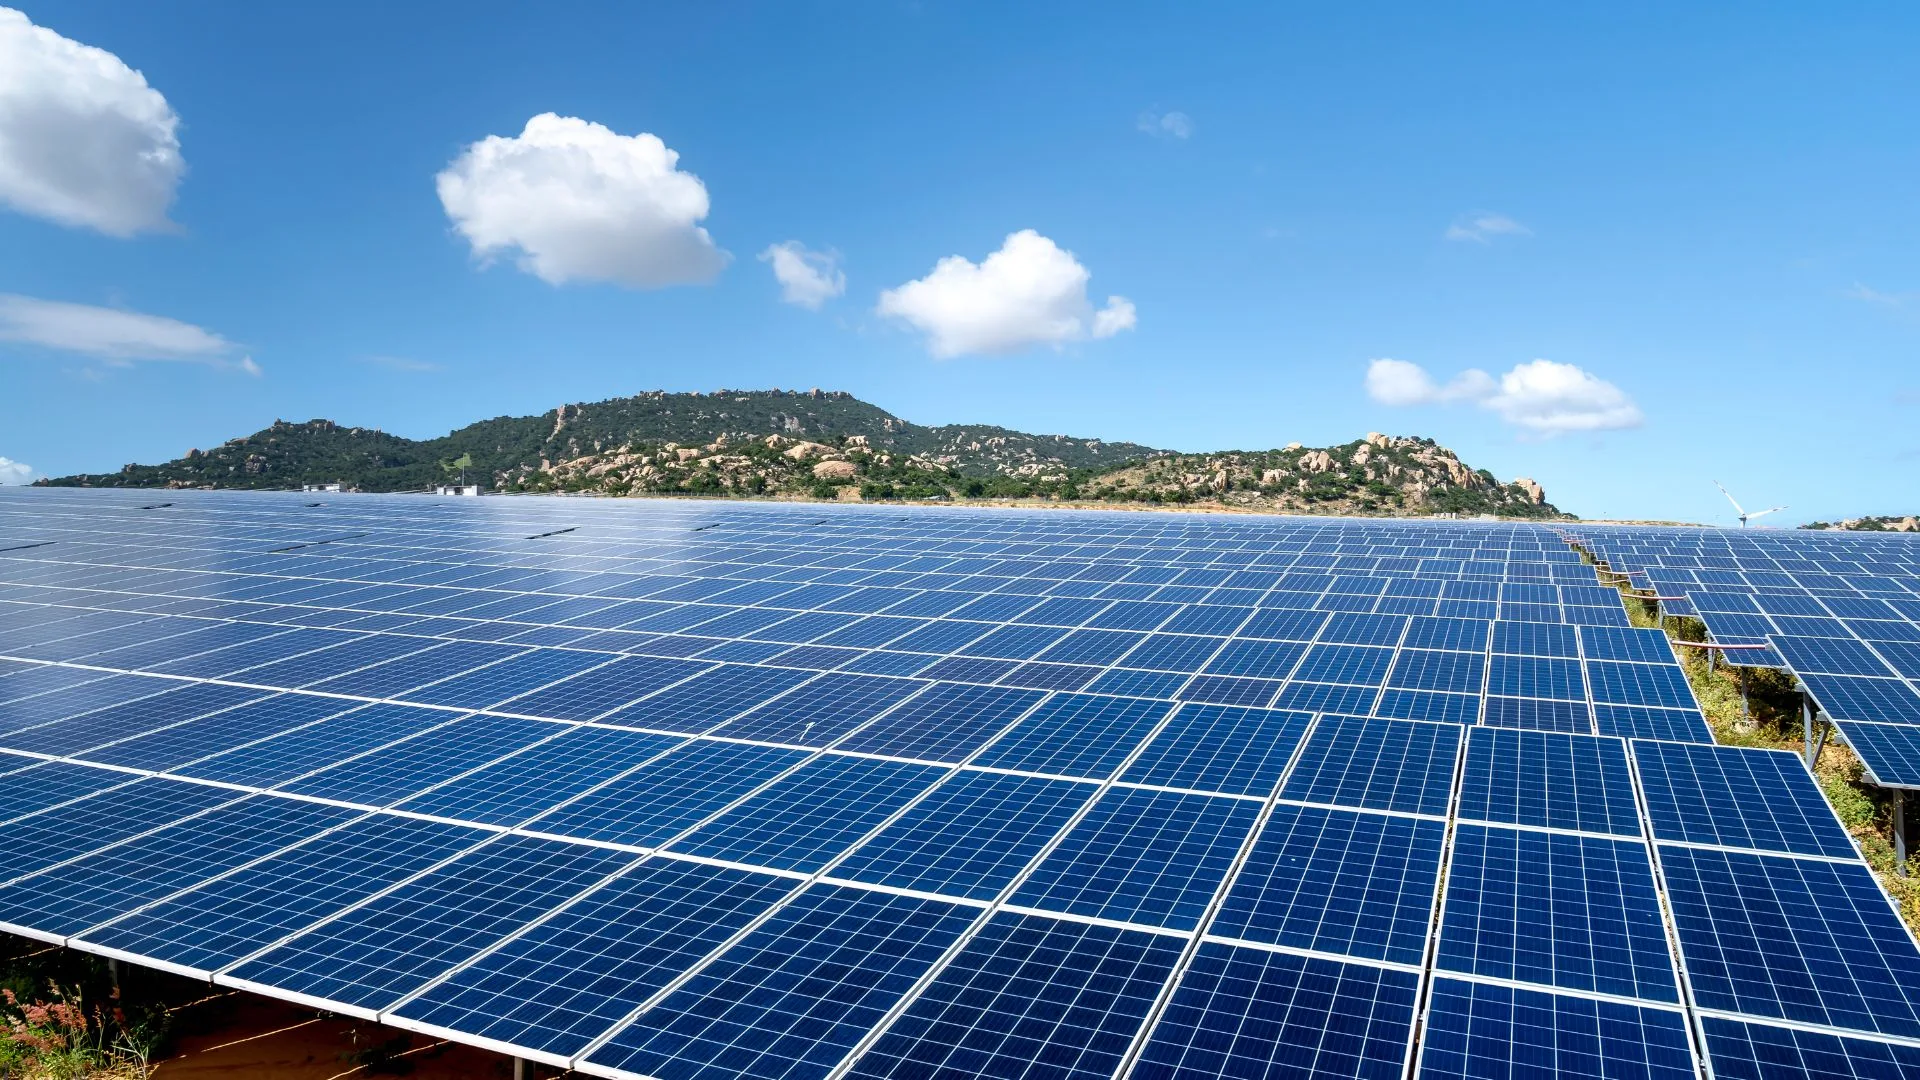
For San Diego homeowners, the decision to replace an aging AC unit often coincides with a growing interest in sustainable living and energy independence. Integrating solar energy with your home’s HVAC system isn’t just a trend; it’s a strategic move towards significant energy savings, reduced environmental impact, and greater comfort. By harnessing the abundant San Diego sunshine, you can power your home’s cooling and heating needs, moving away from reliance on the traditional power grid and often benefiting from net metering programs. This synergy creates a more resilient and efficient home infrastructure. To truly understand the full scope of home energy solutions, including cooling heating HVAC plumbing and solar, it’s beneficial to explore comprehensive guides that cover these interconnected systems.
Maximizing Efficiency with Solar Energy and HVAC Integration
The goal of integrating solar energy with your HVAC system is to maximize efficiency and minimize your carbon footprint. When photovoltaic panels convert sunlight into electricity, a solar inverter transforms it into usable AC power for your home. This energy can then directly power your air conditioning or heat pump system. By offsetting a significant portion of your energy consumption, especially during peak demand hours when electricity rates are highest, solar integration can lead to substantial long-term savings. Smart thermostats play a crucial role here, allowing you to optimize your system’s operation based on solar production, weather forecasts, and your personal comfort preferences, ensuring you use your own generated power most effectively. This integrated approach not only reduces your utility bills but also enhances your energy independence.
Transitioning to Heat Pumps: Solar Energy and HVAC Synergy
When considering AC replacement, many San Diego homeowners are now looking beyond traditional air conditioning to heat pump conversions. Heat pumps offer both heating and cooling capabilities in one highly efficient system, making them an ideal partner for solar energy. This transition aligns with broader electrification goals, moving away from fossil fuels for home heating and leveraging renewable electricity. The energy efficiency of modern heat pumps, combined with solar power, can drastically reduce your home’s overall energy consumption.
Understanding the timeline for such a transition is key. While an AC-only replacement is generally more straightforward, a heat pump conversion might involve additional steps, particularly if your existing heating system is gas-fired and requires new ductwork or electrical upgrades to accommodate the heat pump.
Here’s a general comparison of timelines:
| Aspect | AC-Only Replacement Timeline “`
Planning Your San Diego AC Replacement Timeline
For San Diego homeowners, understanding the various stages and potential factors that influence your AC replacement timeline is crucial. From the moment you consider replacing your old unit to the final installation and certification, several steps contribute to the overall duration. The typical lifespan of AC units in our region, generally 10-15 years, means many homeowners are regularly facing this decision. However, factors like coastal salt exposure or the intense inland heat can sometimes shorten this lifespan.
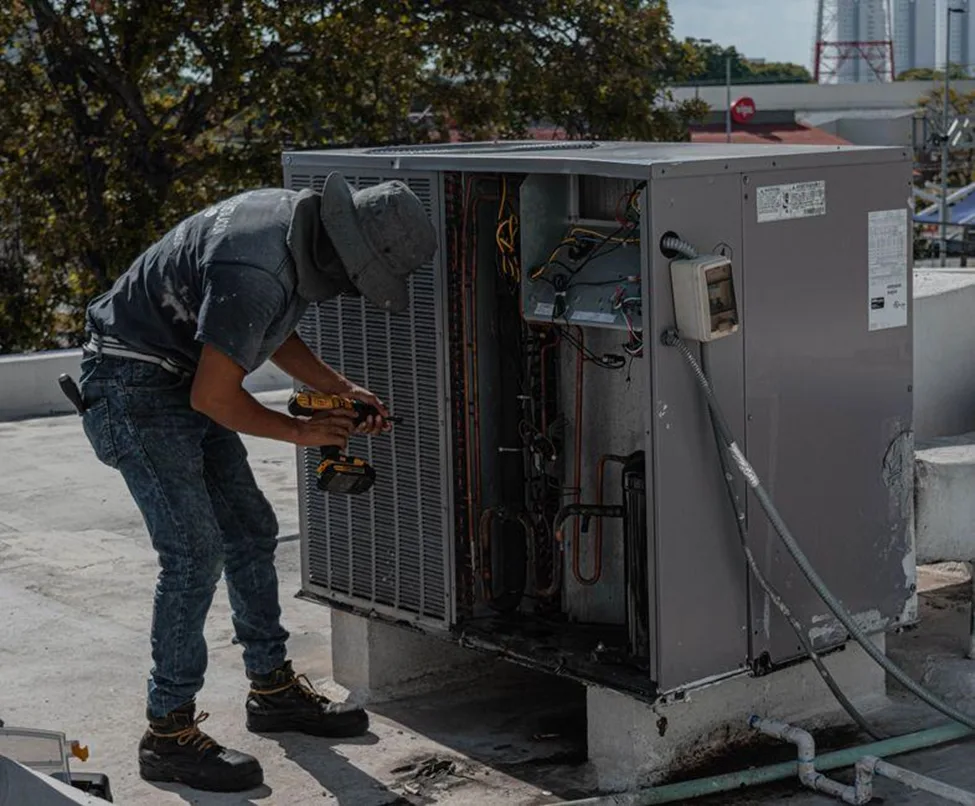
Pre-Installation Steps: Setting the Foundation
Before any physical work begins, a series of essential pre-installation steps are necessary. These foundational activities ensure that the new system is perfectly matched to your home’s needs and complies with all local regulations. This phase can take anywhere from 1 to 4 weeks, depending on contractor availability, your responsiveness, and the complexity of your home.
Here’s a breakdown of the typical pre-installation timeline:
- Initial Consultation & Home Assessment (1-3 business days): This is where everything begins. A qualified HVAC professional will visit your San Diego home to inspect your current system, assess your home’s layout, insulation, windows, and existing ductwork. They’ll discuss your comfort needs, energy goals, and budget.
- Load Calculation (Manual J) (2-5 business days): This critical step involves a detailed calculation, often referred to as a Manual J, to determine the precise heating and cooling load requirements for your home. This ensures the new AC unit is perfectly sized – not too big, not too small – for optimal efficiency and comfort. This can sometimes be done during the initial consultation, but often requires a separate analysis.
- System Selection & Quote Generation (3-7 business days): Based on the load calculation and your preferences, your contractor will present you with several system options, outlining their features, efficiency ratings (SEER2, EER2, HSPF2), and warranty details. You’ll receive detailed quotes for each option. This phase often includes time for you to review, ask questions, and make an informed decision.
- Financing Arrangements (if applicable) (3-10 business days): If you plan to finance your new AC system, this step involves applying for and securing financing. The duration can vary based on the lender and your credit profile.
- Contract Signing & Scheduling (1-3 business days): Once you’ve selected your system and finalized financing, you’ll sign the contract. At this point, the installation date will be scheduled. The actual scheduling can depend on the contractor’s current workload and your availability.
- Equipment Ordering & Delivery (1-3 weeks): After the contract is signed, the specific AC unit and necessary components are ordered. Delivery times can vary based on manufacturer availability and current supply chain conditions. In July 2026, supply chains are generally stable, but popular high-efficiency models can still have lead times.
LIST of pre-installation timeline steps:
- Initial Home Assessment
- Detailed Load Calculation (Manual J)
- System Selection and Quote Review
- Financing Application and Approval
- Contract Finalization
- Installation Scheduling
- Equipment Procurement
Coastal vs. Inland San Diego Climate Considerations
San Diego’s diverse microclimates play a significant role in AC system selection and, by extension, the replacement timeline.
- Coastal Areas: Homes near the coast experience higher humidity and salt spray. This environment can accelerate corrosion on outdoor units, potentially leading to a shorter lifespan for standard equipment. When replacing an AC unit in coastal San Diego, contractors often recommend units with enhanced corrosion resistance, which might have slightly different availability or require specific ordering, potentially adding a few days to the timeline. The milder temperatures also mean that while AC is needed, the peak demand isn’t as extreme as inland, which can sometimes offer more scheduling flexibility.
- Inland Areas: Further inland, temperatures are consistently hotter, putting more strain on AC systems. This necessitates robust, high-capacity units designed for sustained operation in intense heat. The demand for AC services in inland areas during peak summer months (June-September) is extremely high, which can significantly extend scheduling lead times for installations. Equipment sizing and ductwork integrity are paramount here, and any necessary duct modifications could add to the overall project duration.
These climate differences influence not only the type of equipment recommended but also the urgency and potential scheduling bottlenecks, making it essential for homeowners to consider their specific location within San Diego County.
The Best Time of Year to Schedule Your Replacement
Timing your AC replacement strategically can help you avoid delays and potentially secure better scheduling options.
- Avoid Peak Summer (June-September): This is the busiest season for HVAC contractors in San Diego. Everyone’s AC is working overtime, leading to breakdowns and urgent replacement needs. Scheduling during this period means longer wait times for consultations, quotes, equipment delivery, and installation dates. You could be looking at lead times of several weeks or even over a month for installation during the summer of 2026.
- “Shoulder Seasons” are Ideal (Spring: March-May, Fall: October-November):Spring Installation: As temperatures begin to rise but haven’t reached their summer peak, spring offers an excellent window. Contractors are less swamped, giving you more flexibility in scheduling and potentially quicker turnaround times from consultation to installation. You can ensure your new system is ready before the summer heat arrives.
- Autumn Scheduling: After the summer rush subsides, fall is another opportune time. While the immediate need for cooling decreases, replacing your system in the fall allows you to take advantage of reduced contractor demand and ensures your home is prepared for both the mild San Diego winter and the following summer.
Planning your replacement during these shoulder seasons can significantly speed up the overall timeline, often reducing wait times for scheduling from weeks to just a few days or a week. This proactive approach ensures you’re not caught off guard by a system failure during the hottest months.
Installation Day and Permitting Expectations
Once the pre-installation planning is complete and your new AC unit has arrived, the focus shifts to the physical installation and ensuring all regulatory requirements are met. This phase is often what homeowners are most concerned about, particularly regarding the duration of the actual work and how long they might be without cooling.
The Actual Installation Process
For a standard AC-only replacement, the actual installation process on the day of service in San Diego typically takes 1 to 2 days. However, this can vary based on several factors:
- System Type and Complexity: Replacing a like-for-like central AC unit is generally quicker than, for example, converting to a heat pump system that might require new electrical circuits or refrigerant lines.
- Ductwork Modifications: If your existing ductwork is old, leaky, or improperly sized, the installation team might recommend and perform modifications or replacements. This can add significant time, potentially extending the project to 2-3 days.
- System Accessibility: Easy access to the outdoor condenser unit, indoor air handler/furnace, and attic/crawl space for ductwork can speed up the process. Difficult-to-reach areas will naturally take longer.
- Electrical Upgrades: Older homes might require electrical panel upgrades or dedicated circuits to support a more powerful or efficient new AC unit, adding to the installation time.
- Crew Size: A larger, well-coordinated installation crew can often complete the work more efficiently.
On installation day, the process usually involves:
- Removal of Old Equipment: The existing outdoor condenser and indoor coil/air handler are safely disconnected and removed.
- Installation of New Components: The new indoor coil/air handler is placed, connected to the existing or new ductwork, and refrigerant lines are run. The new outdoor condenser unit is set on its pad and connected.
- Electrical and Refrigerant Connections: All necessary electrical wiring is connected, and refrigerant lines are brazed and vacuumed.
- System Startup and Testing: The system is charged with refrigerant, powered on, and thoroughly tested to ensure proper operation, airflow, and cooling performance.
- Homeowner Walkthrough: The technicians will walk you through the new system’s operation, explain maintenance requirements, and answer any questions.
Navigating Title 24 Compliance and Permitting
Permitting and compliance with California’s Title 24 energy efficiency standards are critical steps in any AC replacement project in San Diego. This phase often runs concurrently with the pre-installation and installation stages but can sometimes extend the overall timeline.
- Permit Application (1-2 weeks): Your HVAC contractor will typically handle the permit application process with your local San Diego County building department. This involves submitting plans and documentation detailing the new system. The time it takes to obtain the permit can vary based on the workload of the permitting office.
- Title 24 Compliance: California’s Title 24 Building Energy Efficiency Standards are designed to reduce energy consumption. For AC replacements, this often involves specific requirements for equipment efficiency, duct sealing, and insulation. Your contractor will ensure the selected system meets these standards.
- HERS Testing (Home Energy Rating System) (1-3 days after installation): For most AC replacements in San Diego, HERS verification is required. A certified HERS rater will conduct tests after installation to verify that the system is installed correctly and meets Title 24 requirements, particularly regarding duct leakage and refrigerant charge. This testing happens after the physical installation is complete and adds a final verification step before the project is fully signed off.
- Final Inspection (1-2 weeks after HERS): Once HERS testing is complete and any identified issues are resolved, the local building department will conduct a final inspection to ensure all work complies with the permit and local codes. The scheduling of this inspection can depend on inspector availability.
The entire permitting and compliance process, from application to final inspection, can add anywhere from 2 to 6 weeks to the overall project timeline. It’s crucial for homeowners to work with a contractor experienced in San Diego’s specific regulations to ensure a smooth process.
Minimizing Disruption and Preparing Your Home
While your HVAC contractor manages the technical aspects, there are several steps homeowners can take to prepare their home and schedule to minimize disruption during AC replacement. This proactive approach can help ensure the installation day runs smoothly and efficiently.
- Clear Work Areas: Before the installation crew arrives, clear a path to your indoor unit (e.g., in the attic, closet, or garage) and around your outdoor condenser. Remove any furniture, boxes, or landscaping that might impede access.
- Protect Your Belongings: Cover furniture or sensitive items near work areas with drop cloths to protect them from dust or debris.
- Pet Safety: Arrange for pets to be secured in a safe, quiet area away from the work zone. The noise and activity can be stressful for animals, and it ensures their safety and the crew’s efficiency.
- Child Safety: Keep children away from the work areas for their safety.
- Communication: Maintain open communication with your installation crew. Ask questions, confirm timelines, and address any concerns you have.
- Coordinate Your Schedule: Expect to be without cooling for most of the installation day. If you have young children, elderly family members, or individuals with health conditions, consider making alternative arrangements for their comfort, such as staying with friends or family, or planning an outing.
- Post-Installation Walkthrough: Pay close attention during the post-installation walkthrough. This is your opportunity to understand your new system, ask about thermostat programming, and learn about basic maintenance.
By taking these preparatory steps, you can help the installation team work more efficiently, reduce potential delays, and ensure a smoother, less disruptive AC replacement experience.
Frequently Asked Questions About Solar Energy and HVAC Upgrades
Homeowners considering an AC replacement, especially with solar integration, often have similar questions regarding the practicalities and implications for their daily lives. We aim to address some of the most common concerns to provide clarity and peace of mind.
How long will my home be without cooling during an AC replacement?
For a standard AC-only replacement, San Diego homeowners should typically expect to be without cooling for most of the installation day, usually 6-10 hours. In some cases, particularly if extensive ductwork modifications, electrical upgrades, or unforeseen complications arise, the process could extend into a second day.
Here’s a general breakdown:
- Morning (System Removal): The old unit is disconnected and removed, which means cooling stops.
- Mid-day (New Unit Installation): The new indoor and outdoor units are installed, connected, and sealed.
- Afternoon (Testing & Startup): The system is charged, tested, and brought online. Cooling should resume by late afternoon or early evening.
To manage comfort during this period, especially if the replacement occurs during warmer months, consider using portable fans, opening windows in cooler parts of the day, or temporarily relocating to a cooler area of your home or elsewhere. Your contractor can often provide an estimated timeline for cooling downtime during the initial consultation.
Can I run my HVAC system entirely on solar energy?
While it’s possible to run your HVAC system significantly, and sometimes entirely, on solar energy, it depends on several factors:
- Solar Capacity: The size and output of your solar panel system must be sufficient to meet your home’s total energy demand, including the substantial energy consumption of your HVAC unit. A properly sized solar system can offset a large portion, if not all, of your AC’s electricity usage.
- Battery Storage: To truly run your HVAC system on solar 24/7, you would likely need a robust battery storage system. This allows you to store excess solar energy generated during the day for use at night or when solar production is low. Without batteries, your HVAC system will draw from the grid when solar production is insufficient.
- Energy Consumption: Heat pumps are generally more efficient than traditional AC units for both heating and cooling, making them easier to power with solar. Your home’s insulation, window efficiency, and overall energy habits also play a role.
- Net Metering: In San Diego, net metering policies allow you to send excess solar energy back to the grid for credits, which can then be used to offset electricity drawn from the grid when your solar isn’t producing enough (e.g., at night or on cloudy days). This effectively allows you to “run” your HVAC on solar even when the sun isn’t shining, by using your accumulated credits.
In practice, many San Diego homeowners achieve “net-zero” energy consumption for their HVAC and other appliances by combining a well-sized solar system with net metering, meaning their annual electricity production equals their annual consumption.
How does San Diego’s coastal air affect my HVAC and solar lifespan?
San Diego’s coastal environment, while beautiful, presents unique challenges for outdoor equipment like AC units and solar panels.
- Salt Spray and Corrosion: The constant exposure to salt-laden air can accelerate corrosion on the metal components of outdoor AC condensers. This can lead to premature wear and tear, reducing the system’s lifespan. Homeowners in coastal areas might find their AC units lasting closer to the lower end of the 10-15 year average lifespan, or even less without proper maintenance. To mitigate this, consider units with corrosion-resistant coatings or materials, and schedule more frequent professional cleanings.
- Humidity: Higher humidity levels near the coast can also impact AC performance, as the system works harder to remove moisture from the air.
- Solar Panel Durability: Modern solar panels are built to be highly durable and resistant to environmental factors, including salt spray. Their glass and aluminum frames are designed to withstand harsh conditions. However, regular cleaning of solar panels in coastal areas is important to remove salt and dust buildup, which can reduce efficiency over time. While salt air doesn’t typically shorten the lifespan of the panels themselves, it can impact their output if not maintained.
For both HVAC and solar systems in coastal San Diego, proactive maintenance is key to maximizing their lifespan and efficiency in this unique climate. Regular inspections, cleanings, and addressing any signs of corrosion promptly can make a significant difference.
Planning Your San Diego AC Replacement Timeline
For San Diego homeowners, understanding the various stages and potential factors that influence your AC replacement timeline is crucial. From the moment you consider replacing your old unit to the final installation and certification, several steps contribute to the overall duration. The typical lifespan of AC units in our region, generally 10-15 years, means many homeowners are regularly facing this decision. However, factors like coastal salt exposure or the intense inland heat can sometimes shorten this lifespan.
Pre-Installation Steps: Setting the Foundation
Before any physical work begins, a series of essential pre-installation steps are necessary. These foundational activities ensure that the new system is perfectly matched to your home’s needs and complies with all local regulations. This phase can take anywhere from 1 to 4 weeks, depending on contractor availability, your responsiveness, and the complexity of your home.
Here’s a breakdown of the typical pre-installation timeline:
- Initial Consultation & Home Assessment (1-3 business days): This is where everything begins. A qualified HVAC professional will visit your San Diego home to inspect your current system, assess your home’s layout, insulation, windows, and existing ductwork. They’ll discuss your comfort needs, energy goals, and budget.
- Load Calculation (Manual J) (2-5 business days): This critical step involves a detailed calculation, often referred to as a Manual J, to determine the precise heating and cooling load requirements for your home. This ensures the new AC unit is perfectly sized – not too big, not too small – for optimal efficiency and comfort. This can sometimes be done during the initial consultation, but often requires a separate analysis.
- System Selection & Quote Generation (3-7 business days): Based on the load calculation and your preferences, your contractor will present you with several system options, outlining their features, efficiency ratings (SEER2, EER2, HSPF2), and warranty details. You’ll receive detailed quotes for each option. This phase often includes time for you to review, ask questions, and make an informed decision.
- Financing Arrangements (if applicable) (3-10 business days): If you plan to finance your new AC system, this step involves applying for and securing financing. The duration can vary based on the lender and your credit profile.
- Contract Signing & Scheduling (1-3 business days): Once you’ve selected your system and finalized financing, you’ll sign the contract. At this point, the installation date will be scheduled. The actual scheduling can depend on the contractor’s current workload and your availability.
- Equipment Ordering & Delivery (1-3 weeks): After the contract is signed, the specific AC unit and necessary components are ordered. Delivery times can vary based on manufacturer availability and current supply chain conditions. In July 2026, supply chains are generally stable, but popular high-efficiency models can still have lead times.
LIST of pre-installation timeline steps:
- Initial Home Assessment
- Detailed Load Calculation (Manual J)
- System Selection and Quote Review
- Financing Application and Approval
- Contract Finalization
- Installation Scheduling
- Equipment Procurement
Coastal vs. Inland San Diego Climate Considerations
San Diego’s diverse microclimates play a significant role in AC system selection and, by extension, the replacement timeline.
- Coastal Areas: Homes near the coast experience higher humidity and salt spray. This environment can accelerate corrosion on outdoor units, potentially leading to a shorter lifespan for standard equipment. When replacing an AC unit in coastal San Diego, contractors often recommend units with enhanced corrosion resistance, which might have slightly different availability or require specific ordering, potentially adding a few days to the timeline. The milder temperatures also mean that while AC is needed, the peak demand isn’t as extreme as inland, which can sometimes offer more scheduling flexibility.
- Inland Areas: Further inland, temperatures are consistently hotter, putting more strain on AC systems. This necessitates robust, high-capacity units designed for sustained operation in intense heat. The demand for AC services in inland areas during peak summer months (June-September) is extremely high, which can significantly extend scheduling lead times for installations. Equipment sizing and ductwork integrity are paramount here, and any necessary duct modifications could add to the overall project duration.
These climate differences influence not only the type of equipment recommended but also the urgency and potential scheduling bottlenecks, making it essential for homeowners to consider their specific location within San Diego County.
The Best Time of Year to Schedule Your Replacement
Timing your AC replacement strategically can help you avoid delays and potentially secure better scheduling options.
- Avoid Peak Summer (June-September): This is the busiest season for HVAC contractors in San Diego. Everyone’s AC is working overtime, leading to breakdowns and urgent replacement needs. Scheduling during this period means longer wait times for consultations, quotes, equipment delivery, and installation dates. You could be looking at lead times of several weeks or even over a month for installation during the summer of 2026.
- “Shoulder Seasons” are Ideal (Spring: March-May, Fall: October-November):Spring Installation: As temperatures begin to rise but haven’t reached their summer peak, spring offers an excellent window. Contractors are less swamped, giving you more flexibility in scheduling and potentially quicker turnaround times from consultation to installation. You can ensure your new system is ready before the summer heat arrives.
- Autumn Scheduling: After the summer rush subsides, fall is another opportune time. While the immediate need for cooling decreases, replacing your system in the fall allows you to take advantage of reduced contractor demand and ensures your home is prepared for both the mild San Diego winter and the following summer.
Planning your replacement during these shoulder seasons can significantly speed up the overall timeline, often reducing wait times for scheduling from weeks to just a few days or a week. This proactive approach ensures you’re not caught off guard by a system failure during the hottest months.
Installation Day and Permitting Expectations
Once the pre-installation planning is complete and your new AC unit has arrived, the focus shifts to the physical installation and ensuring all regulatory requirements are met. This phase is often what homeowners are most concerned about, particularly regarding the duration of the actual work and how long they might be without cooling.
The Actual Installation Process
For a standard AC-only replacement, the actual installation process on the day of service in San Diego typically takes 1 to 2 days. However, this can vary based on several factors:
- System Type and Complexity: Replacing a like-for-like central AC unit is generally quicker than, for example, converting to a heat pump system that might require new electrical circuits or refrigerant lines.
- Ductwork Modifications: If your existing ductwork is old, leaky, or improperly sized, the installation team might recommend and perform modifications or replacements. This can add significant time, potentially extending the project to 2-3 days.
- System Accessibility: Easy access to the outdoor condenser unit, indoor air handler/furnace, and attic/crawl space for ductwork can speed up the process. Difficult-to-reach areas will naturally take longer.
- Electrical Upgrades: Older homes might require electrical panel upgrades or dedicated circuits to support a more powerful or efficient new AC unit, adding to the installation time.
- Crew Size: A larger, well-coordinated installation crew can often complete the work more efficiently.
On installation day, the process usually involves:
- Removal of Old Equipment: The existing outdoor condenser and indoor coil/air handler are safely disconnected and removed.
- Installation of New Components: The new indoor coil/air handler is placed, connected to the existing or new ductwork, and refrigerant lines are run. The new outdoor condenser unit is set on its pad and connected.
- Electrical and Refrigerant Connections: All necessary electrical wiring is connected, and refrigerant lines are brazed and vacuumed.
- System Startup and Testing: The system is charged with refrigerant, powered on, and thoroughly tested to ensure proper operation, airflow, and cooling performance.
- Homeowner Walkthrough: The technicians will walk you through the new system’s operation, explain maintenance requirements, and answer any questions.
Navigating Title 24 Compliance and Permitting
Permitting and compliance with California’s Title 24 energy efficiency standards are critical steps in any AC replacement project in San Diego. This phase often runs concurrently with the pre-installation and installation stages but can sometimes extend the overall timeline.
- Permit Application (1-2 weeks): Your HVAC contractor will typically handle the permit application process with your local San Diego County building department. This involves submitting plans and documentation detailing the new system. The time it takes to obtain the permit can vary based on the workload of the permitting office.
- Title 24 Compliance: California’s Title 24 Building Energy Efficiency Standards are designed to reduce energy consumption. For AC replacements, this often involves specific requirements for equipment efficiency, duct sealing, and insulation. Your contractor will ensure the selected system meets these standards.
- HERS Testing (Home Energy Rating System) (1-3 days after installation): For most AC replacements in San Diego, HERS verification is required. A certified HERS rater will conduct tests after installation to verify that the system is installed correctly and meets Title 24 requirements, particularly regarding duct leakage and refrigerant charge. This testing happens after the physical installation is complete and adds a final verification step before the project is fully signed off.
- Final Inspection (1-2 weeks after HERS): Once HERS testing is complete and any identified issues are resolved, the local building department will conduct a final inspection to ensure all work complies with the permit and local codes. The scheduling of this inspection can depend on inspector availability.
The entire permitting and compliance process, from application to final inspection, can add anywhere from 2 to 6 weeks to the overall project timeline. It’s crucial for homeowners to work with a contractor experienced in San Diego’s specific regulations to ensure a smooth process.
Minimizing Disruption and Preparing Your Home
While your HVAC contractor manages the technical aspects, there are several steps homeowners can take to prepare their home and schedule to minimize disruption during AC replacement. This proactive approach can help ensure the installation day runs smoothly and efficiently.
- Clear Work Areas: Before the installation crew arrives, clear a path to your indoor unit (e.g., in the attic, closet, or garage) and around your outdoor condenser. Remove any furniture, boxes, or landscaping that might impede access.
- Protect Your Belongings: Cover furniture or sensitive items near work areas with drop cloths to protect them from dust or debris.
- Pet Safety: Arrange for pets to be secured in a safe, quiet area away from the work zone. The noise and activity can be stressful for animals, and it ensures their safety and the crew’s efficiency.
- Child Safety: Keep children away from the work areas for their safety.
- Communication: Maintain open communication with your installation crew. Ask questions, confirm timelines, and address any concerns you have.
- Coordinate Your Schedule: Expect to be without cooling for most of the installation day. If you have young children, elderly family members, or individuals with health conditions, consider making alternative arrangements for their comfort, such as staying with friends or family, or planning an outing.
- Post-Installation Walkthrough: Pay close attention during the post-installation walkthrough. This is your opportunity to understand your new system, ask about thermostat programming, and learn about basic maintenance.
By taking these preparatory steps, you can help the installation team work more efficiently, reduce potential delays, and ensure a smoother, less disruptive AC replacement experience.
Frequently Asked Questions About Solar Energy and HVAC Upgrades
Homeowners considering an AC replacement, especially with solar integration, often have similar questions regarding the practicalities and implications for their daily lives. We aim to address some of the most common concerns to provide clarity and peace of mind.
How long will my home be without cooling during an AC replacement?
For a standard AC-only replacement, San Diego homeowners should typically expect to be without cooling for most of the installation day, usually 6-10 hours. In some cases, particularly if extensive ductwork modifications, electrical upgrades, or unforeseen complications arise, the process could extend into a second day.
Here’s a general breakdown:
- Morning (System Removal): The old unit is disconnected and removed, which means cooling stops.
- Mid-day (New Unit Installation): The new indoor and outdoor units are installed, connected, and sealed.
- Afternoon (Testing & Startup): The system is charged, tested, and brought online. Cooling should resume by late afternoon or early evening.
To manage comfort during this period, especially if the replacement occurs during warmer months, consider using portable fans, opening windows in cooler parts of the day, or temporarily relocating to a cooler area of your home or elsewhere. Your contractor can often provide an estimated timeline for cooling downtime during the initial consultation.
Can I run my HVAC system entirely on solar energy?
While it’s possible to run your HVAC system significantly, and sometimes entirely, on solar energy, it depends on several factors:
- Solar Capacity: The size and output of your solar panel system must be sufficient to meet your home’s total energy demand, including the substantial energy consumption of your HVAC unit. A properly sized solar system can offset a large portion, if not all, of your AC’s electricity usage.
- Battery Storage: To truly run your HVAC system on solar 24/7, you would likely need a robust battery storage system. This allows you to store excess solar energy generated during the day for use at night or when solar production is low. Without batteries, your HVAC system will draw from the grid when solar production is insufficient.
- Energy Consumption: Heat pumps are generally more efficient than traditional AC units for both heating and cooling, making them easier to power with solar. Your home’s insulation, window efficiency, and overall energy habits also play a role.
- Net Metering: In San Diego, net metering policies allow you to send excess solar energy back to the grid for credits, which can then be used to offset electricity drawn from the grid when your solar isn’t producing enough (e.g., at night or on cloudy days). This effectively allows you to “run” your HVAC on solar even when the sun isn’t shining, by using your accumulated credits.
In practice, many San Diego homeowners achieve “net-zero” energy consumption for their HVAC and other appliances by combining a well-sized solar system with net metering, meaning their annual electricity production equals their annual consumption.
How does San Diego’s coastal air affect my HVAC and solar lifespan?
San Diego’s coastal environment, while beautiful, presents unique challenges for outdoor equipment like AC units and solar panels.
- Salt Spray and Corrosion: The constant exposure to salt-laden air can accelerate corrosion on the metal components of outdoor AC condensers. This can lead to premature wear and tear, reducing the system’s lifespan. Homeowners in coastal areas might find their AC units lasting closer to the lower end of the 10-15 year average lifespan, or even less without proper maintenance. To mitigate this, consider units with corrosion-resistant coatings or materials, and schedule more frequent professional cleanings.
- Humidity: Higher humidity levels near the coast can also impact AC performance, as the system works harder to remove moisture from the air.
- Solar Panel Durability: Modern solar panels are built to be highly durable and resistant to environmental factors, including salt spray. Their glass and aluminum frames are designed to withstand harsh conditions. However, regular cleaning of solar panels in coastal areas is important to remove salt and dust buildup, which can reduce efficiency over time. While salt air doesn’t typically shorten the lifespan of the panels themselves, it can impact their output if not maintained.
For both HVAC and solar systems in coastal San Diego, proactive maintenance is key to maximizing their lifespan and efficiency in this unique climate. Regular inspections, cleanings, and addressing any signs of corrosion promptly can make a significant difference.
Conclusion
Navigating an AC replacement in San Diego, especially when considering the exciting prospect of integrating solar energy, involves understanding a multi-faceted timeline. From the initial detailed assessment and crucial load calculations to the final permit inspections and HERS testing, each step contributes to a successful and energy-efficient outcome. We’ve explored how factors like your home’s location (coastal vs. inland), the time of year, and your choice between an AC-only replacement or a full heat pump conversion can influence the overall duration.
By planning ahead, preparing your home, and partnering with experienced professionals, San Diego homeowners can minimize disruption and ensure a smooth transition to a more comfortable, sustainable, and energy-independent future. Embracing these upgrades not only enhances your home comfort but also contributes to long-term energy savings and a reduced environmental footprint, aligning with the growing trend towards sustainable living in our beautiful region.