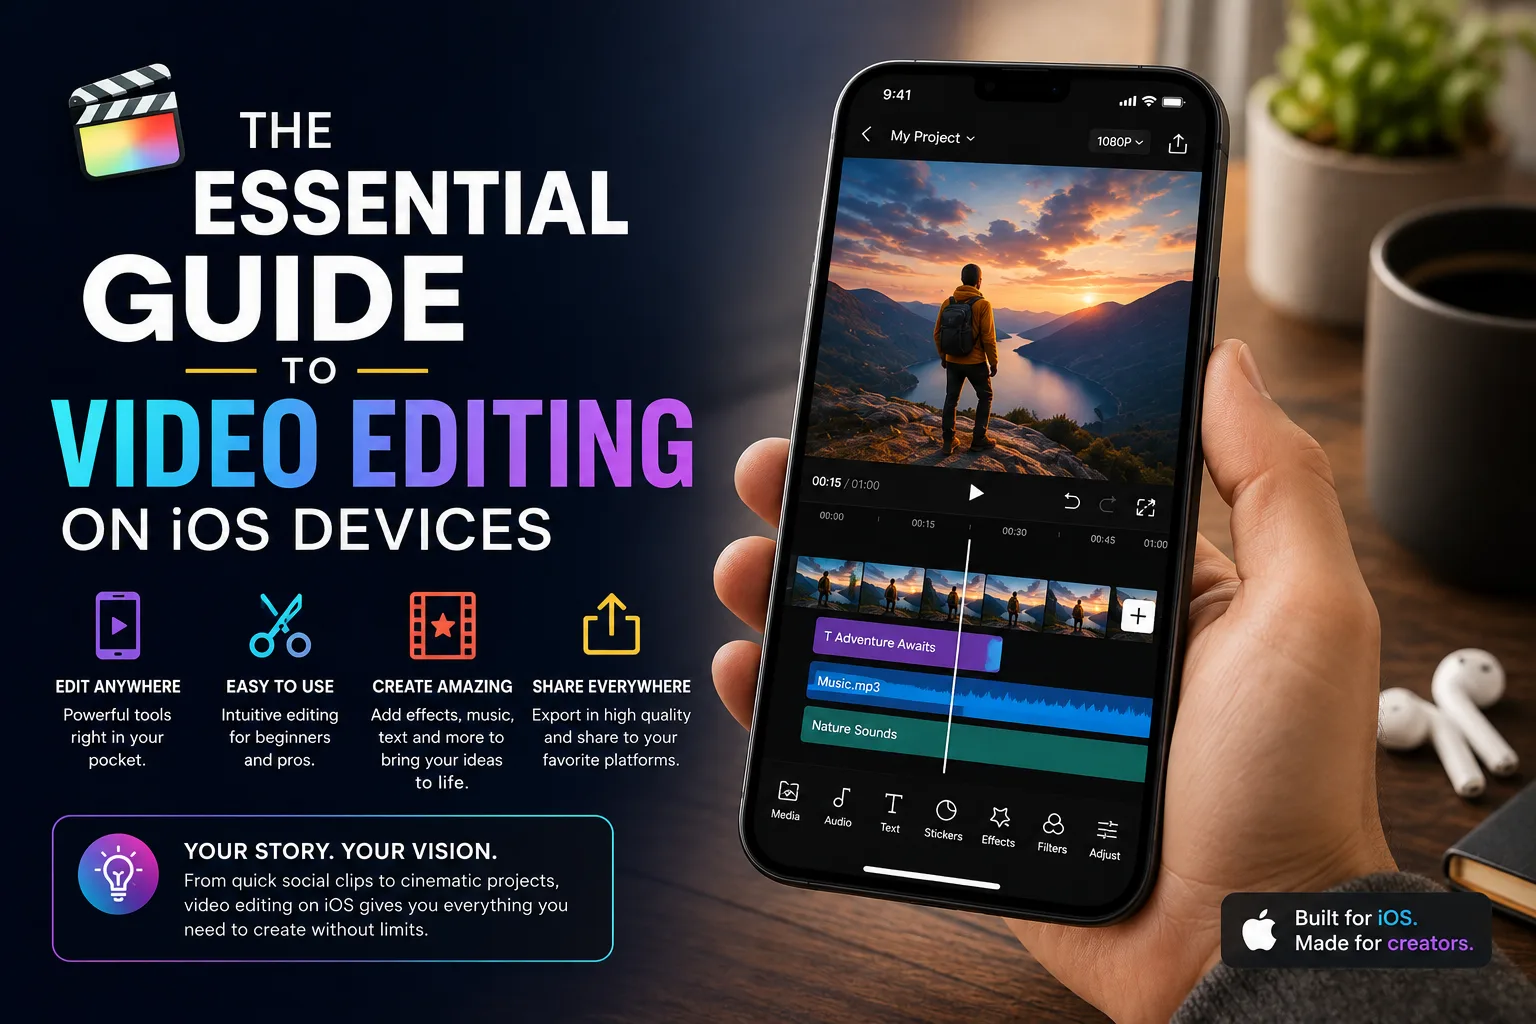
Most people carry a capable video camera and editing suite in their pocket, yet the footage often sits unused because the editing feels like a chore. That gap between shooting and finishing is where good videos go to die. This guide walks you through editing video directly on your iPhone or iPad, from picking the right app to exporting a clean final cut. Along the way, browser-based options like Clideo tools can help when you want to trim or convert a clip without installing anything, and Clideo runs from any mobile browser, which makes it handy for quick one-off edits between projects.
Why Edit Video on an iOS Device at All?
You might assume serious editing belongs on a desktop. For a lot of work, that assumption no longer holds. Modern iPhones and iPads handle 4K footage, multiple layers, and color adjustments without stalling, and the touch interface makes some tasks faster than a mouse ever could.
The real advantage is proximity. You film something, and the raw clip is already on the device. There’s no card reader, no transfer step, no waiting for files to copy. You can cut a rough version on the walk home and post it before the moment loses relevance.
That said, mobile editing has limits. Long-form projects with dozens of tracks can feel cramped on a phone screen, and precise frame-by-frame trimming is harder without a larger display. Knowing where those limits sit helps you decide when to finish on the device and when to move to a computer.
Getting Your Footage Ready Before You Edit
A clean edit starts before you open any app. The choices you make while filming affect how much time you spend fixing things later.
- Shoot horizontally for most platforms, and vertically only when you know the video is headed to Stories or short-form feeds.
- Lock your exposure and focus by tapping and holding on the screen, which stops the picture from shifting brightness mid-shot.
- Record a few extra seconds at the start and end of each clip so you have room to trim without clipping important action.
- Keep clips short and intentional rather than filming one long take you’ll have to hunt through later.
Once you’ve filmed, take a minute to delete the obvious throwaways. Editing a folder of 15 usable clips is far easier than scrolling through 60. This small habit saves more time than almost any editing trick.
Choosing the Right Editing App
There’s no single best app. The right choice depends on what you’re making and how much control you want.
Built-In Options
The Photos app already lets you trim clips, adjust brightness, and crop without downloading anything. For a quick cut of a single clip, that may be all you need. It won’t let you combine multiple clips or add music, so treat it as a fast fix rather than a full tool.
Free and Low-Cost Apps
iMovie is the natural starting point for most people. It’s free, made by Apple, and handles multi-clip projects, transitions, titles, and basic audio. You’ll find it and dozens of alternatives on the iOS App Store, where the video category ranges from simple trimmers to near-professional editors. When you’re comparing options, check the app’s export settings and whether it adds a watermark to free exports, since those two details affect the final result more than the feature list suggests.
Advanced Apps
If you outgrow iMovie, apps like LumaFusion offer multiple video tracks, keyframing, and detailed color controls. These cost money and carry a steeper learning curve, so they make sense once you’re editing regularly and hitting the ceiling of the free tools.
A Simple Editing Workflow That Works
A repeatable process beats improvising every time. Here’s a sequence you can follow for most projects.
- Import and arrange. Drop your clips onto the timeline in rough story order before worrying about anything else.
- Make your rough cut. Trim each clip to its core moment. Don’t polish yet — just get the shape of the video right.
- Refine the timing. Watch the whole thing, then tighten cuts that drag and extend moments that feel rushed.
- Add audio. Layer in music or voiceover, then lower the music volume under any spoken parts so words stay clear.
- Apply finishing touches. Add titles, transitions, and color adjustments last, once the structure is settled.
- Review before export. Watch the full cut one more time with sound on, ideally the next day if you can wait.
The order matters more than the tools. Editing structure first and polish last stops you from spending an hour perfecting a clip you later cut.
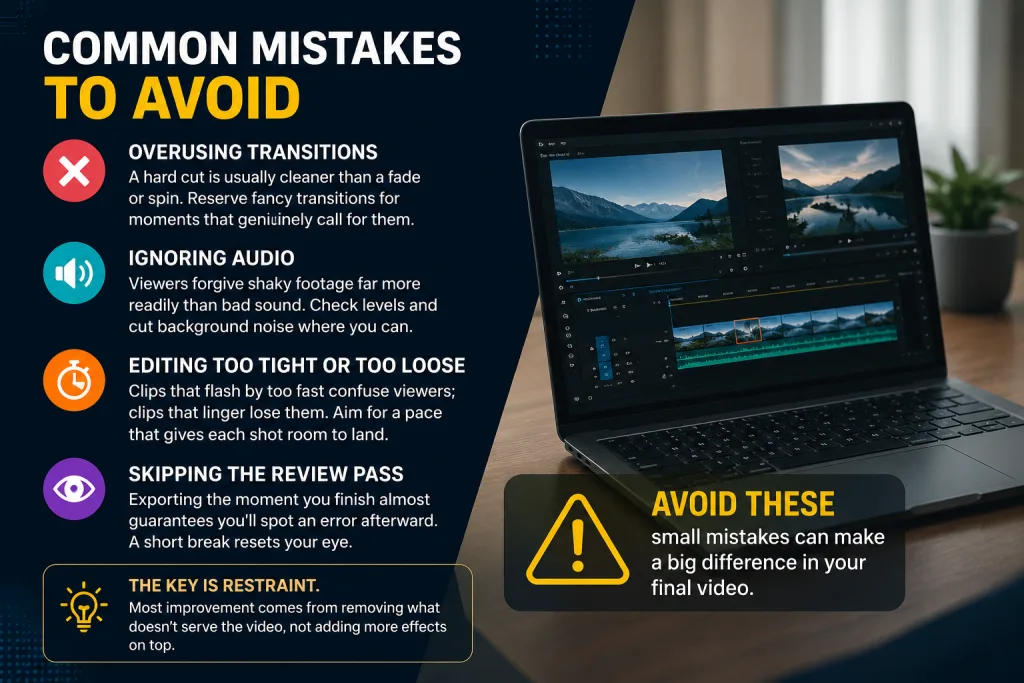
Common Mistakes to Avoid
A few habits trip up nearly everyone starting out. Watching for them can save you from re-editing.
- Overusing transitions. A hard cut is usually cleaner than a fade or spin. Reserve fancy transitions for moments that genuinely call for them.
- Ignoring audio. Viewers forgive shaky footage far more readily than bad sound. Check levels and cut background noise where you can.
- Editing too tight or too loose. Clips that flash by too fast confuse viewers; clips that linger lose them. Aim for a pace that gives each shot room to land.
- Skipping the review pass. Exporting the moment you finish almost guarantees you’ll spot an error afterward. A short break resets your eye.
The key is restraint. Most improvement comes from removing what doesn’t serve the video, not adding more effects on top.
Exporting and Sharing Your Video
Export settings decide how your video looks everywhere it lands. Match the resolution to where it’s going. 1080p is fine for most social platforms, while 4K makes sense only if the footage was shot in 4K and the destination supports it. Watch the frame rate too. If you filmed at 30 frames per second, export at 30 changing it during export can make motion look uneven. For sharing, exporting straight to your Photos library keeps the highest quality, since uploading through a messaging app often compresses the file.
Before you post anywhere permanent, save a master copy to your library or cloud storage. Platforms compress uploads, and having the original means you can re-export later without starting over.